
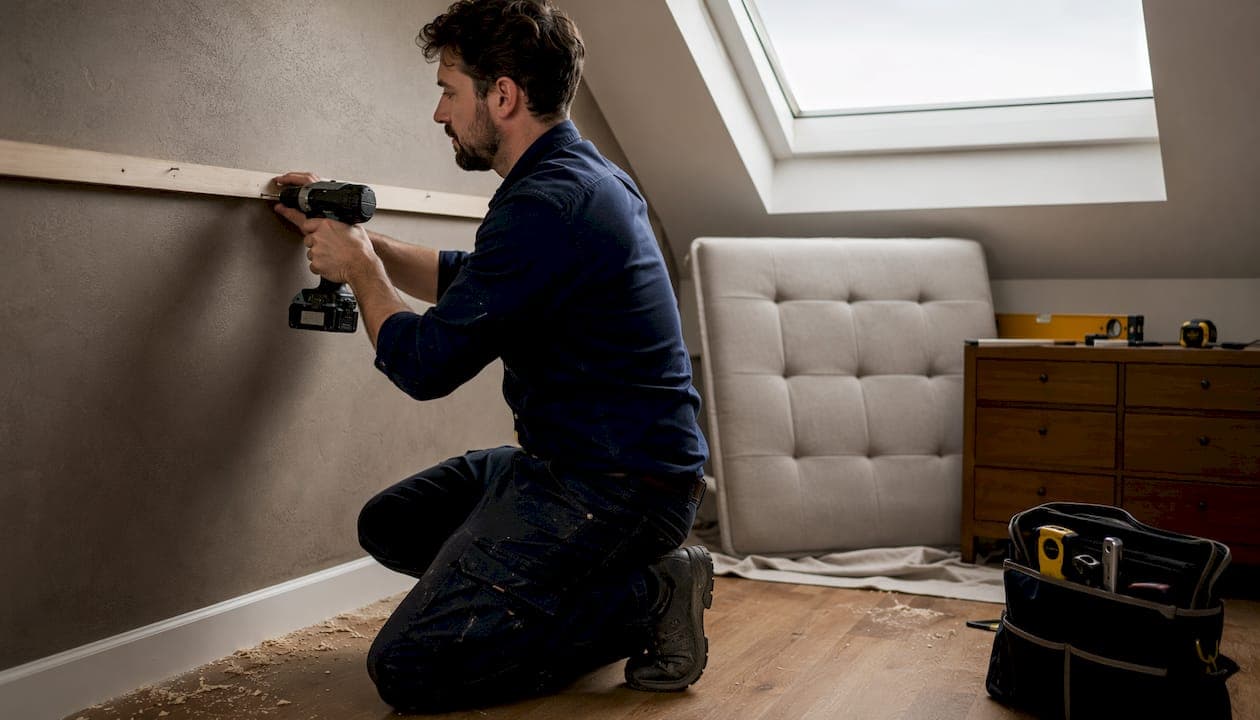
For heavy bespoke upholstered headboards, the correct wall mounted headboard fixing approach is a French cleat mounted into timber studs wherever the wall structure allows. Where studs cannot be reached, specify professional-grade strap toggle anchors or a ledger board fixed to studs, then fasten the headboard to the ledger. Before ordering a single bracket, conduct a site survey to confirm the wall type and locate studs or structural supports. Produce a written fixing specification before any drilling begins. The British Standards Institution publishes load-bearing guidance that underpins any credible fixing schedule. Stop and verify there are no concealed services before drilling; if there is any doubt, bring in a qualified installer for the initial check.
- Confirm wall construction (solid masonry, plasterboard on timber stud, plasterboard on metal stud)
- Locate studs with a calibrated stud finder; mark positions clearly
- Check for concealed cables and pipework using a detector
- Record mattress thickness and desired exposed headboard height
- Produce a written fixing specification before procurement
Wall-mounted headboards are increasingly specified for hotel-style interiors precisely because they decouple the headboard from the bed base, allowing future reupholstery or base changes without disturbing the installation.
Table of Contents
- French cleat vs fixed metal brackets: which system should you specify?
- What fixings should you specify for each wall type?
- What does a trade installation cost and how long does it take?
- Step-by-step installation procedure
- How do you find and vet a reliable installer in the City of London?
- Simmonsinteriorsupply: bespoke headboards made for trade
- Key takeaways
French cleat vs fixed metal brackets: which system should you specify?
French cleats are a two-part interlocking rail system: one bevelled rail fixes to the wall, the other to the back of the headboard, and they lock together under gravity. The great virtue for trade work is tolerance. You can shift the headboard laterally after hanging, and removal for reupholstery or access takes seconds. The trade-off is projection: a substantial cleat adds depth behind the headboard, which matters on shallow walls or in rooms with tight clearances.
Fixed metal wall brackets deliver superior rigidity and a lower profile, but they demand near-perfect alignment during installation. Once the screws are in, adjustment is limited. For flush, heavy timber panel headboards where absolute solidity and minimal projection are the priorities, fixed brackets are the right call.
Pro Tip: Space wall mounts to maximise the span between studs rather than clustering fixings centrally. For very tall headboards, stagger fixing rows vertically. Always add a securing bracket at the base to prevent the headboard pivoting or lifting away from the wall under use.
A base securing bracket is not optional on upholstered pieces; without it, repeated contact lifts the top of the headboard away from the wall over time.
City of London trade shortlist
| Provider | Services offered | Best for | City of London coverage | Quoting basis | Warranty / aftercare | Portfolio |
|---|---|---|---|---|---|---|
| Simmonsinteriorsupply | Bespoke manufacture + written fixing spec + trade account | Bespoke upholstered headboards, hospitality | Yes | Trade quote on enquiry | Trade warranty; bespoke aftercare | Gallery available |
| Nadeau – Furniture With a Soul | Supply; in-store selection | Characterful, artisan-style pieces | City of London area | Retail / trade pricing | Standard retail | In-store |
| Morgan Drapery & Upholstery | Reupholstery; soft-furnishing supply | Reupholstery of existing headboards | City of London area | Quote on inspection | Workmanship guarantee | On request |
What fixings should you specify for each wall type?
Wall type determines everything about anchor selection. The table below gives the specification a designer can hand directly to an installer.
| Wall type | Recommended anchor | Pilot hole | Notes |
|---|---|---|---|
| Solid masonry / brick | M8 sleeve anchor or lag shield | 8 mm | Hammer drill essential; check for mortar voids |
| Plasterboard on timber stud | M8 structural screw direct into stud | 6 mm | Preferred route; ledger board if studs misalign |
| Plasterboard on metal stud | Strap toggle rated to load | Per manufacturer | Confirm metal-stud gauge before specifying |
| Plasterboard (no stud) | Heavy-duty strap toggle or ledger board | Per manufacturer | Never use kit-supplied plastic plugs |
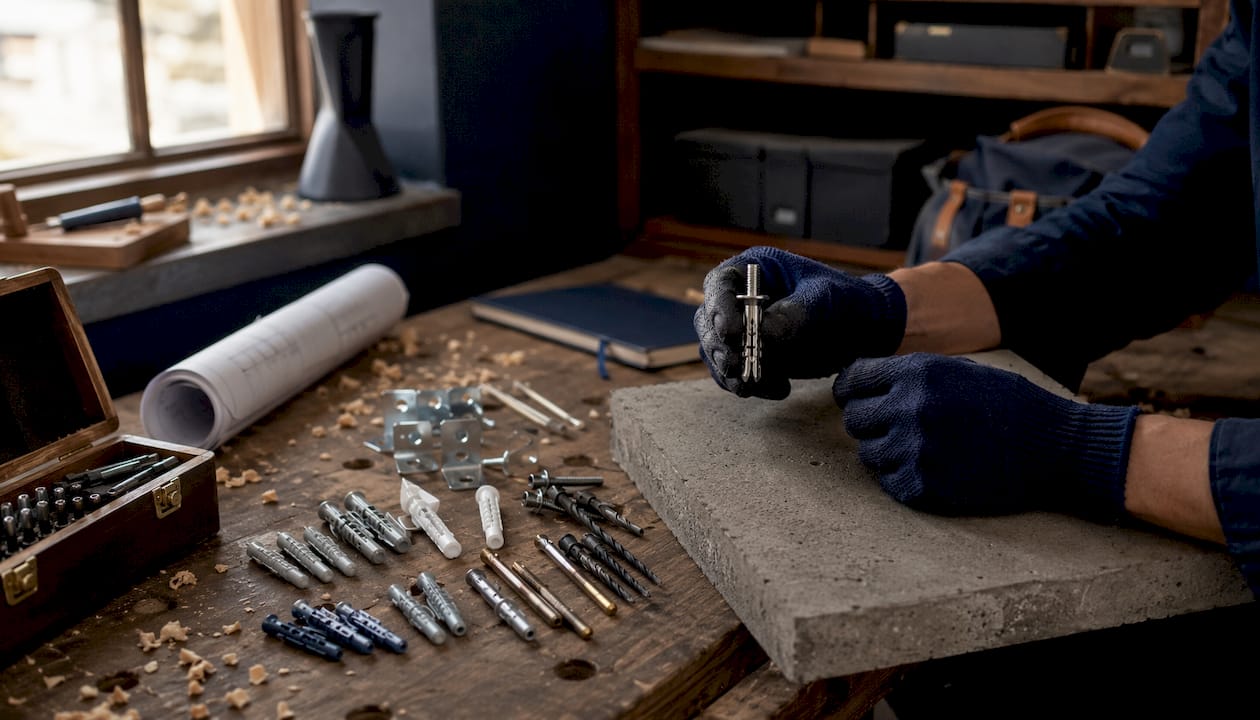
Kit-supplied plastic plugs are designed for solid masonry and are wholly unsuitable for hollow plasterboard under a heavy upholstered headboard. Specify professional hollow-wall anchors with a published load rating, and record that rating in the fixing schedule. A ledger board fixed to studs is the preferred trade solution when stud positions do not align with headboard mounting points: fix the ledger to studs, then fasten the headboard to the ledger to spread load and simplify future adjustment.
Pre-drilling pilot holes slightly smaller than the screw shank prevents timber splitting and is standard practice for lag screws. Draw a continuous spirit-level guide line across the full headboard width rather than measuring from the floor; floors are rarely truly level, and a floor-referenced measurement transfers any unevenness directly to the headboard.
What does a trade installation cost and how long does it take?
A single-room headboard installation by a qualified UK fixer typically takes two to four hours, depending on wall complexity and headboard size. Site survey and specification writing adds a half-day for complex bespoke commissions. Trade installation costs in the UK vary by region and scope; City of London rates reflect the capital's premium, and most contractors quote on a day-rate or per-room basis after a site visit. Budget separately for fixings, which for professional-grade toggle anchors and structural screws can be significant per installation on hollow-wall substrates.
Step-by-step installation procedure
Tools required: stud finder, spirit level, hammer drill (masonry) or standard drill, appropriate drill bits, screwdriver or impact driver, pencil, measuring tape, safety goggles.
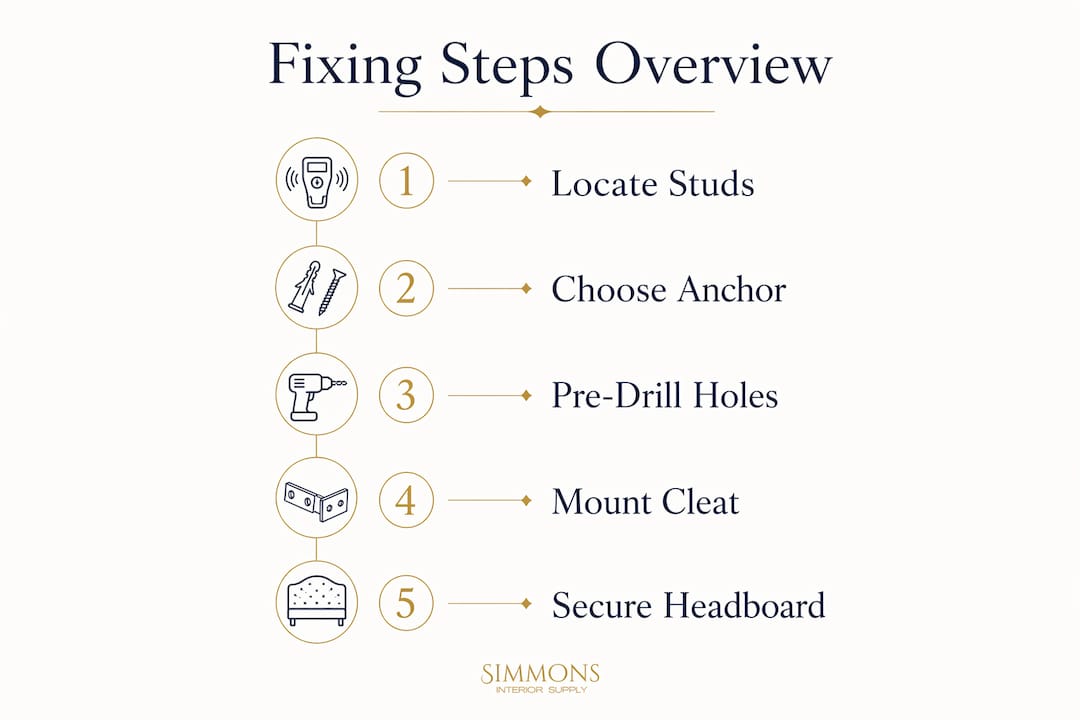
- Complete the site survey: confirm wall type, locate and mark studs, check for services.
- Mark the horizontal guide line at the desired headboard height using a spirit level across the full width.
- Transfer bracket or cleat positions from the headboard to the wall, aligning with stud marks.
- Attach the wall-side cleat or brackets, drilling pilot holes first and torquing screws firmly without over-driving.
- Attach the headboard-side hardware to the back of the headboard.
- With a second person, lift and engage the headboard onto the wall fixings.
- Fix the base securing bracket to prevent pivoting.
- Check level; leave a small gap between mattress and headboard to prevent fabric wear.
- Test load by applying firm lateral and forward pressure before signing off.
How do you find and vet a reliable installer in the City of London?
Word of mouth from other designers remains the most reliable route. When briefing any installer, ask for a written fixing specification before work begins, evidence of public liability insurance, and examples of comparable installations. A credible fixer will request a site survey rather than quoting blind.
Red flags to watch for:
- Quoting without a site visit
- No written fixing schedule or load-rating documentation
- Proposing kit-supplied plastic plugs for plasterboard walls
- Unwillingness to provide an installation warranty in writing
Require a post-installation load test and a signed-off fixing record as part of the handover pack.
Simmonsinteriorsupply: bespoke headboards made for trade

Simmonsinteriorsupply offers something the City of London's generalist suppliers cannot: a headboard conceived, crafted, and specified as a single trade commission. Every piece is handcrafted to your exact frame dimensions and finish, with a written fixing specification prepared alongside the manufacture so your installer arrives on site with a complete schedule rather than guesswork. The bespoke trade service covers everything from initial measured drawings through to aftercare, with trade account access and a portfolio of completed installations available through the gallery. Request a site survey or a specification pack directly, and we will have a fixing schedule ready before the headboard leaves the workshop.
Key takeaways
For bespoke upholstered headboards in the UK, a French cleat into timber studs is the most reliable and serviceable wall mounted headboard fixing, provided the fixing schedule is written before installation begins.
| Point | Details |
|---|---|
| French cleat is the trade default | Forgiving alignment and easy removal make it the right choice for large upholstered bespoke headboards. |
| Wall type drives anchor choice | Solid masonry takes sleeve anchors; plasterboard requires strap toggles or a ledger board fixed to studs. |
| Never use kit plastic plugs on plasterboard | Specify professional hollow-wall anchors with a published load rating and record it in the fixing schedule. |
| Spirit level beats floor measurement | Draw a continuous horizontal guide line at headboard height; floors are rarely truly level. |
| Simmonsinteriorsupply | Supplies bespoke headboards with a written fixing specification and trade warranty for City of London commissions. |