
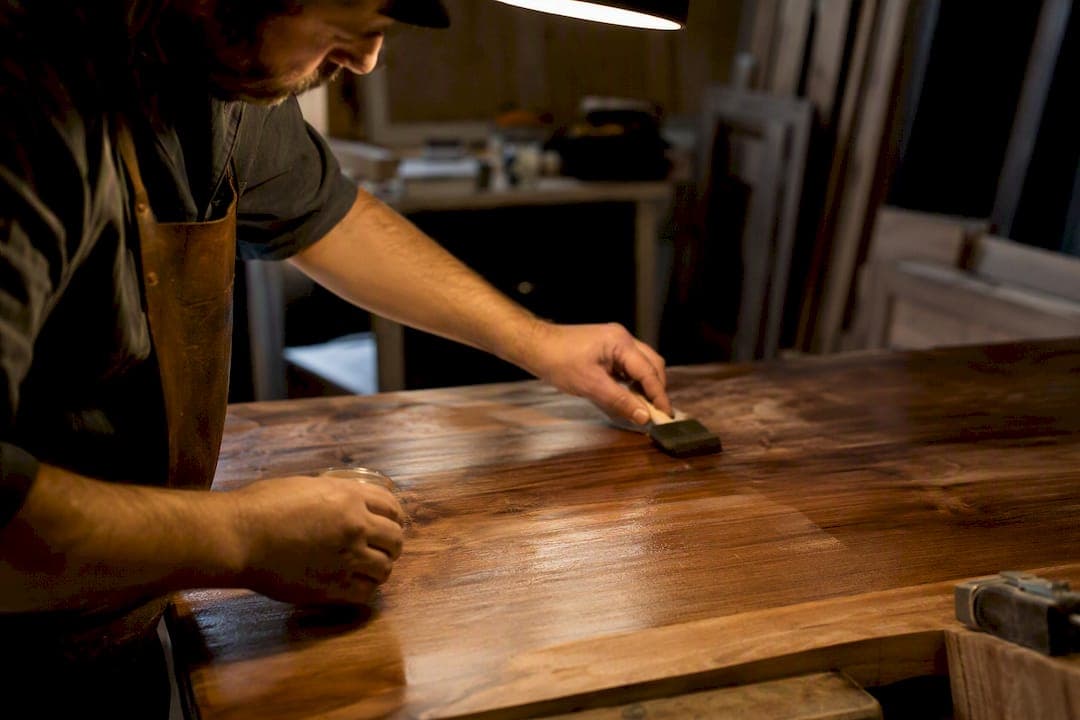
Every furniture finish belongs to one of two families: film-forming finishes (varnish, polyurethane, lacquer, paint) that sit on the surface and shield it, or penetrating finishes (oils, hardwax oils, wax) that soak into the grain and preserve its feel. The trade-off is simple: film finishes deliver the strongest protection against scratches, heat and spills, while penetrating finishes reward you with a natural touch and the ability to repair a mark without stripping the whole piece. For a dining table that faces daily wear, we generally point clients towards polyurethane or hardwax oil, and reserve wax and shellac for lower-contact or decorative work.
TL;DR:
- Coatings that cure through evaporation are less durable and less suitable for high-traffic areas compared to reactive, chemical-curing finishes like polyurethane.
- Hardwax oils provide moderate protection, excellent repairability, and a natural feel, making them ideal for everyday furniture that requires occasional maintenance.
- Oil-based polyurethane offers maximum durability with a warm amber hue, but requires sanding between coats and is best for surfaces exposed to spills and daily wear.
- Lacquers are favored for quick application and smooth finishes in professional settings but have lower resistance to household chemicals and heat.
- Epoxy resin creates impact-resistant, waterproof surfaces ideal for statement pieces like bar tops, but application and repair require precision and often full re-pours.
Table of Contents
- Penetrating vs film-forming finishes: why the split matters
- Oil finishes (linseed, tung, Danish): look, application and limits
- Hardwax oils: the practical middle ground for home furniture
- Varnish and polyurethane: maximum everyday protection
- Lacquer: fast, smooth, and built for the workshop
- Shellac: the traditional choice for antiques and decorative work
- Wax: still the right choice for the right piece
- Paint and opaque systems: when colour matters more than grain
- Epoxy and resin finishes: glass tops and statement pieces
- Comparing furniture finish types at a glance
- How to choose the right finish for your furniture
- Maintaining and repairing your finish over time
- Safety, solvents and lower-VOC alternatives
- The Simmons Interior Supply perspective on finish selection
- A craftsperson's rule of thumb on finish choice
- Sources
Penetrating vs film-forming finishes: why the split matters
Every clear wood finish cures in one of two ways, and that single fact explains almost everything about how it performs. Penetrating finishes, such as linseed oil, tung oil and hardwax oil, soak into the wood's cell structure and harden there through evaporation and slow oxidation. Film-forming finishes, by contrast, cure through a chemical reaction, either evaporative (shellac, nitrocellulose lacquer) or reactive (polyurethane, conversion varnish), and build a distinct skin on top of the timber.
That difference in cure mechanism drives the practical consequences. Reactive finishes generally outperform evaporative ones on durability, which is why oil-based polyurethane is the standard recommendation for high-traffic surfaces such as dining tables and floors. But durability comes at a cost to feel: a thick polyurethane film reads as plastic under the fingertips, whereas an oil or hardwax oil finish still feels like wood because, structurally, it still is wood with a treated surface. Film-forming finishes offer superior protection, but penetrating finishes are prized for that in-the-wood tactile quality and for how easily they take a spot repair.
The categories break down roughly like this:
- Penetrating finishes: raw and boiled linseed oil, pure tung oil, Danish oil, hardwax oil blends.
- Evaporative film finishes: shellac, nitrocellulose and CAB lacquer, wax.
- Reactive film finishes: oil-based and water-based polyurethane, conversion varnish, catalysed lacquer, two-part epoxy.
Knowing which bucket a finish sits in tells you most of what you need before you even open the tin: how it will wear, how easy it will be to touch up in five years, and whether it will change the timber's colour on the way in.
Oil finishes (linseed, tung, Danish): look, application and limits
Straight oil finishes are the oldest way to treat wood and still among the most rewarding, if you accept their limits. Boiled linseed oil deepens grain and warms the colour of walnut or oak within a single coat; pure tung oil does something similar with a slightly clearer, less amber cast. Danish oil is usually a blend of oil, varnish and thinner, giving a little more surface build than raw oil while keeping most of that "in-the-wood" character.
Application is forgiving, which is exactly why hobbyists gravitate towards it. Wipe the oil on liberally with a lint-free rag, let it sit for ten to fifteen minutes so the wood drinks it in, then wipe off every trace of surplus oil. Skipping that wipe-off step is the single most common mistake: leftover oil on the surface stays tacky for days and attracts dust. Recoats go on once the previous layer has dried, typically 24 hours for tung oil, longer for linseed oil in cooler workshops.
The limitation is durability. Oil finishes offer little resistance to water rings, heat marks or scuffing, so they suit low-contact furniture, occasional tables and decorative pieces better than a family dining table that sees daily meals. They also interact unpredictably with oily species like teak, rosewood and cocobolo, where natural oils in the timber can prevent a finish curing properly on the surface, leaving a soft or tacky film. For those woods, a light solvent wipe before finishing, or a switch to a hardwax oil formulated for oily timbers, solves most of the problem.
Hardwax oils: the practical middle ground for home furniture
Hardwax oil is the finish we recommend most often when a client wants furniture that still looks and feels like solid wood but needs to survive real family life. It combines natural oils, usually linseed or soya, with hard waxes such as carnauba or candelilla, and cures through a combination of oxidation and evaporation to leave a low-sheen, breathable surface sitting just above the grain rather than encasing it.
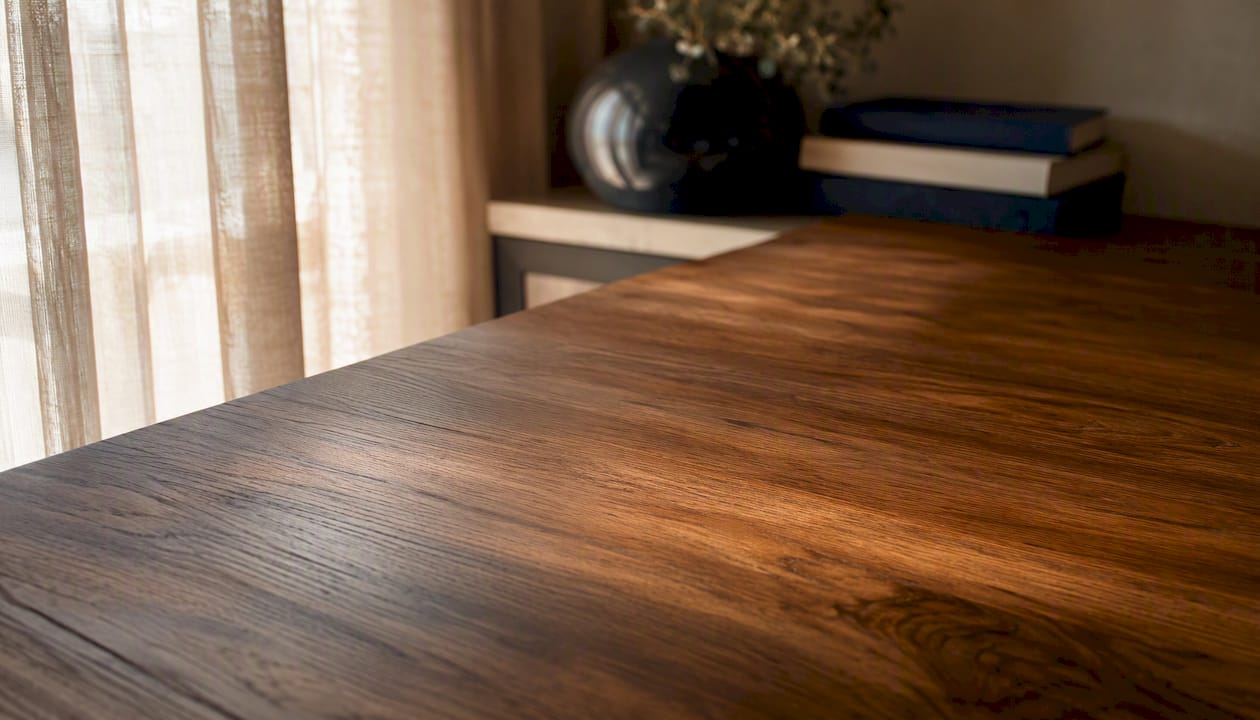
The standout advantage is repairability. Hardwax oil allows a local spot repair, sanding back just the damaged patch and refreshing the oil in place, rather than stripping and recoating the entire tabletop the way most film finishes demand. A ring left by a hot mug, a scuff from a dragged chair, even a deeper scratch, can usually be sanded to bare wood in that one spot, re-oiled, and blended back in within an afternoon.
Expect to refresh a hardwax oil surface every 12 to 18 months on a busy dining table, less often on lower-traffic pieces, using a maintenance oil applied thinly with a cloth. Application for the first finish follows the same rag-on, wait, wipe-off rhythm as straight oils, though most manufacturers recommend two coats with a light abrasive pad scuff between them.
Choose hardwax oil over a polyurethane film when you value that natural, touchable surface and don't mind occasional maintenance more than you mind the very highest scratch resistance. Our water resistant wood finish guide covers formulations that narrow that durability gap further.
Varnish and polyurethane: maximum everyday protection
For a table that has to survive spilled wine, hot dishes and a family with young children, polyurethane and varnish remain the most dependable film-forming choice. Both cure through a reactive chemical process rather than simple evaporation, which is why they build a genuinely tough, sealed surface rather than a soft skin.
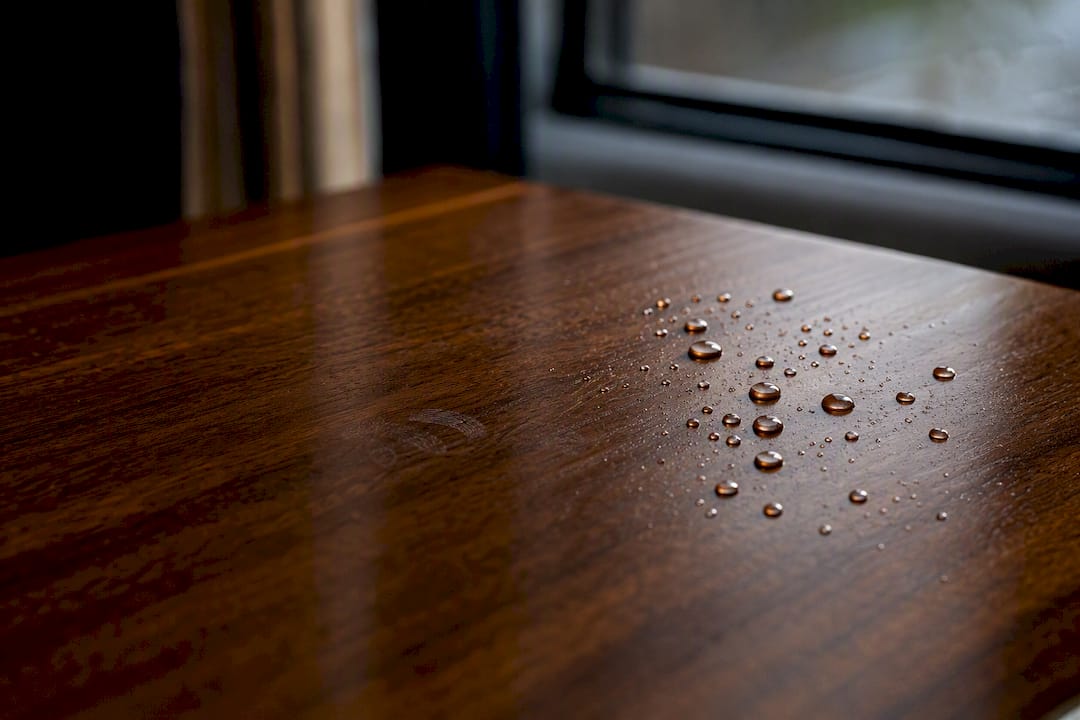
Oil-based polyurethane cures slower, roughly six to eight hours between coats, and carries a noticeable solvent odour during application, but it lays down a warm amber tone that many people find flattering on oak and walnut. It does yellow gradually over years, particularly under direct sun. Water-based polyurethane dries faster, often recoatable within two to three hours, has far less odour, and stays clear rather than ambering, though some formulations feel slightly thinner and may need an extra coat to match the film build of an oil-based product.
For furniture that takes genuine daily punishment, oil-based polyurethane is the finish most commonly recommended for maximum durability on a dining table. Three coats is the usual minimum, with a light sand at 320 grit between each to knock back raised grain and dust nibs and give the next coat something to key into. Skipping that intercoat sanding is why some DIY finishes look cloudy or feel slightly rough; it isn't optional, it's what makes the final coat level and clear.
For commercial or hospitality projects, conversion varnish and other catalysed coatings outperform standard polyurethane under sustained heavy use, which is why specifiers reach for them on restaurant tables and hotel casegoods. Our hospitality grade finishes guide sets out what that standard actually requires. Application typically shifts from brush to spray at that level, since conversion varnish cures quickly once mixed and doesn't tolerate the open time a brush needs.
Lacquer: fast, smooth, and built for the workshop
Lacquer earns its place in professional shops because nothing else dries as fast or lays down as smoothly. Nitrocellulose lacquer, the traditional furniture-trade choice, is almost always sprayed rather than brushed, since its solvent evaporates within minutes and a brush simply can't keep pace before the finish starts to tack up.
That speed is the whole appeal. A sprayed lacquer job can go from bare wood to a fully finished, buffed surface in a single day, recoating within thirty minutes between passes, which is why cabinet shops and furniture manufacturers lean on it for volume work. The finish itself is glass smooth and takes a satin or high gloss sheen beautifully.
The trade-offs are real, though. Lacquer has comparatively low resistance to solvents, heat and household chemicals next to a reactive polyurethane, and a splash of nail varnish remover or a hot pan left too long can soften it. It's also a poor match for heavy domestic dining use unless it's a catalysed or conversion-grade lacquer built for exactly that duty.
One genuinely useful property: lacquer bonds well over shellac and most other finishes, which is why furniture restorers often use a shellac sealer coat under a sprayed lacquer topcoat when reviving older pieces.
Shellac: the traditional choice for antiques and decorative work
Shellac is a natural resin, secreted by the lac beetle and dissolved in denatured alcohol, and it remains one of the fastest-drying, best-adhering finishes available. A coat is dry to the touch within twenty minutes, and it sticks to almost anything, including old finishes that would reject a fresh coat of varnish.
That makes shellac the standard sealer for antique restoration and French polishing, where its warm amber tone and glossy depth suit period furniture perfectly. It also blocks knots and resin bleed better than most alternatives, so many finishers use it purely as a barrier coat under a different topcoat.
Its weakness is sensitivity: alcohol dissolves it (a spilled gin and tonic will leave a ring), and heat softens it, which rules it out for dining surfaces or anywhere hot dishes land directly on the wood. Reach for shellac as a sealer, a decorative finish on low-contact pieces, or a fast-drying base beneath lacquer.
Wax: still the right choice for the right piece
Wax has fallen out of fashion as a standalone furniture finish, and for good reason on anything that takes real wear, but it hasn't disappeared. It's the correct choice for antiques where authenticity matters more than scratch resistance, for display cabinets and sideboards handled rarely, and as a final buffed layer over an oil or hardwax oil finish to add sheen and a slightly silkier feel.
Application is simple: a thin coat applied with a cloth, left to haze over for ten to fifteen minutes, then buffed hard with a clean cloth to bring up the shine. That's the whole process, and it's why wax remains a favourite for a Sunday-afternoon furniture refresh.
Its limitation is durability. Wax offers almost no resistance to water or heat on its own, and it wears thin within weeks on anything touched daily. Combine it with a base coat of oil or hardwax oil rather than relying on wax alone for any surface that sees regular use, and refresh it every few months rather than waiting for it to look tired.
Paint and opaque systems: when colour matters more than grain
Paint earns its place when you want colour, want to hide imperfect grain or old repairs, or want a piece to match a specific interior scheme rather than showcase timber character. It's the obvious choice for kitchen furniture, painted sideboards and pieces built from a mix of solid wood and MDF where grain consistency was never the goal.
A proper paint system on furniture runs through three stages: a bonding primer suited to the substrate, an undercoat to build opacity and level the surface, then a topcoat. For durability on furniture that gets handled, a water-based or oil-based enamel topcoat outperforms a standard wall paint by a wide margin, since enamels are formulated to resist scuffing and cleaning far better.
Surface preparation decides most of the final result. Sand to a consistent grit, fill any dents or gaps before priming rather than after, and scuff-sand between every coat, primer included, since gloss and satin enamels show every skipped step under raking light. Paint suits furniture where the wood beneath is a means rather than the message.
Epoxy and resin finishes: glass tops and statement pieces
Epoxy resin sits at the far end of the durability spectrum from wax. Poured as a thick, self-levelling liquid, it cures into a genuinely waterproof, impact-resistant surface that can be built up several millimetres thick, deep enough to embed objects, level a live-edge slab, or create the glossy river-table effect that has become a signature of statement dining furniture.
That performance comes with real costs. Epoxy is used for very heavy-duty, glass-like tabletops, but application demands precise mixing ratios, a dust-free environment and a full cure that can run 48 to 72 hours before the surface is fully hard, longer than any other finish covered here. Repair is genuinely difficult: a scratch in cured epoxy generally needs the whole top re-poured or heavily re-sanded and topped again, since spot-blending a new pour into an old one rarely disappears invisibly.
Choose epoxy when the brief calls for a bold, high-gloss, genuinely bombproof surface, such as a live-edge dining table or a commercial bar top. For furniture where natural wood character and easy long-term upkeep matter more than maximum toughness, hardwax oil or polyurethane remain the more practical route.
Comparing furniture finish types at a glance
| Finish | Durability | Appearance | Repairability | Drying/cure time | Best use |
|---|---|---|---|---|---|
| Penetrating oil (linseed, tung, Danish) | Low to moderate | Natural, warms colour, low sheen | Easy spot repair | 24 hours per coat | Low-contact tables, decorative pieces |
| Hardwax oil | Moderate to good | Natural matte, in-the-wood feel | Excellent local spot repair | 24 to 48 hours, cured in days | Dining tables, everyday furniture |
| Shellac | Low, alcohol and heat sensitive | Warm amber gloss | Easy to recoat, poor spot repair on damage | 20 minutes per coat | Antiques, sealer coats, decorative finishes |
| Nitrocellulose lacquer | Moderate | Smooth, high clarity, satin to gloss | Difficult, usually full recoat | Minutes per coat | Sprayed cabinetry, factory furniture |
| Wax | Low | Soft sheen, tactile | Easy, but offers little protection to repair | 10 minutes to haze | Antiques, low-use display pieces |
| Oil-based polyurethane/varnish | High | Ambers over time, glossy to satin | Moderate, requires sanding back | 6 hours per coat | Dining tables, floors, high-traffic furniture |
| Water-based polyurethane | High | Stays clear, less amber | Moderate | 2 to 3 hours per coat | Light-coloured woods, low-odour projects |
| Paint (enamel systems) | High for surface, chips at edges | Opaque, any colour | Moderate, touch-up visible | Hours per coat, days to full cure | Kitchen furniture, mixed-material pieces |
| Epoxy resin | Very high, impact and water resistant | High gloss, can embed objects | Difficult, often needs full repour | 48 to 72 hours | Statement tops, live-edge and bar surfaces |
How to choose the right finish for your furniture
Start with how the piece will actually be used, not how you'd like it to look on the day it's finished. Run through this checklist before you open a single tin:
- Expected wear: Will it face hot plates, wet glasses and dragged chairs daily, or sit against a wall holding ornaments?
- Cleaning habits: Are you wiping it down with a damp cloth weekly, or does it need to shrug off spilt red wine without a second thought?
- Desired look: Do you want the timber to still feel like wood under your hand, or is a glossy, uniform sheen the priority?
- Maintenance appetite: Are you happy to re-oil a hardwax finish every year, or do you want something you can effectively ignore for a decade?
- Tools and skill: Do you have spray equipment and a dust-free space, or are you working with a brush and a rag in a home workshop?
- Wood species: Is the timber oily (teak, iroko) or porous and prone to blotching (pine, cherry, birch)?
That last point deserves attention, because it trips up more first-time finishers than anything else. Porous woods absorb stain and oil unevenly, leaving dark blotches wherever the grain runs differently, so pine and cherry usually need a sanding sealer or a pre-conditioner before the main finish goes on. Our wood species selection guide covers which timbers need that extra prep step and which take a finish cleanly straight away.
Pro Tip: If you're not sure what finish is already on a piece you're refinishing, dab a hidden spot with denatured alcohol. If it softens or lifts, it's shellac. If it's unaffected, try lacquer thinner next; if that softens the surface, it's lacquer. If neither reacts, you're almost certainly dealing with a reactive varnish or polyurethane, which needs full sanding to remove.
Three pairings cover most of the furniture decisions homeowners actually face:
Busy family dining table: Oil-based polyurethane if you want maximum protection and don't mind a slight amber tone, or hardwax oil if you'd rather have a natural feel and don't mind refreshing it annually.
Decorative sideboard or occasional table: Wax over a linseed oil base gives a soft sheen and period character with minimal fuss, since the piece rarely faces serious wear.
Bespoke commissioned project: This is where a tailored specification matters most, choosing the finish alongside the timber species, the intended room and how the piece will actually be lived with, rather than defaulting to whatever tin happens to be on the shelf.
Maintaining and repairing your finish over time
Routine care differs by finish family, but the general rule holds everywhere: avoid ammonia-based glass cleaners and abrasive scouring pads on any wood finish, since both strip sheen and can cloud the surface. A soft cloth with a little warm water, dried immediately, handles most weekly cleaning across oil, hardwax oil, lacquer and varnish alike.
Spot repairs vary more. On an oil or hardwax oil finish, sand the damaged area lightly with fine abrasive, wipe on fresh oil, let it sit, then wipe off; the repair blends because you're refreshing the same material already in the wood. On polyurethane or varnish, a scratch usually needs the whole panel or tabletop lightly abraded and recoated, since a spot patch of film finish rarely disappears into the surrounding sheen. Lacquer behaves similarly, though its fast-drying nature makes it slightly easier to feather a small repair at the edges. Shellac is the most forgiving to touch up: a fresh coat melts into the old one because the solvent, alcohol, redissolves what's already there.
The decision rule is straightforward: if the damage is confined to a small area and the finish is penetrating, attempt a spot repair first. If the damage spans a large surface, or the finish is a film type showing wear across the whole piece rather than in one spot, a full strip and refinish will look better than patchwork and often takes less time overall than trying to blend multiple small repairs.
Safety, solvents and lower-VOC alternatives
Solvent exposure varies sharply between finish families. Boiled linseed oil and pure tung oil sit among the least hazardous finishes to breathe, while nitrocellulose lacquer and high-performance conversion coatings use some of the most aggressive solvents in general woodworking use, and both demand serious ventilation.
Work with a cross-flow of fresh air or a proper spray booth when using lacquer or solvent-based polyurethane, wear an organic vapour respirator rather than a simple dust mask, and use nitrile gloves for anything solvent-based. Never pour leftover solvent down a household drain; most local authorities require it to go to a household hazardous waste point, and oil-soaked rags need to be laid flat to dry outdoors before disposal, since bunched rags can self-combust.
If exposure is a concern, water-based polyurethane, straight oils and hardwax oil all carry meaningfully lower VOC content than lacquer or oil-based conversion finishes, and modern water-based products have closed much of the old durability gap.
The Simmons Interior Supply perspective on finish selection
Bespoke furniture changes the finish conversation, because the piece is being built for a specific room, a specific use, and often a specific client with strong opinions about how it should feel under their hand. That context shifts priorities: a hotel lobby console needs the scratch and heat resistance of a hospitality-grade coating, while a family heirloom dining table commissioned for a home kitchen might matter more for its tactile warmth than its resistance to a dropped saucepan.
Luke, who oversees finish specification for Simmons Interior Supply, brings that dual perspective to every commission, weighing hospitality-grade durability against the natural, lived-in character clients increasingly ask for in residential pieces. insert Luke's professional background and credentials].. The [wood species selection guide reflects the same species-first thinking that shapes every bespoke specification we produce.
A craftsperson's rule of thumb on finish choice
The rule I keep coming back to is this: pick the finish for how the piece will be touched, not just how it will be seen. A nest of coffee tables commissioned for a family living room taught me that lesson directly, the client wanted a glassy, showroom sheen, but three young children and a dog meant hardwax oil was always the honest answer, scuffs and all.
— Luke
Sources
- Top 10 Essential Wood Finishes: Pros, Cons, and Application Tips
- Choosing a Finish - FineWoodworking
- Wood finishing basics | Popular Woodworking
- 7 Best Finish for Dining Table: Complete Review, Features, Pros & Cons – Flowyline